- Blog
- Christmas 2023
- Decorating Your Tree: A Step-by-Step Guide for a Festive Christmas
Ah, the magical time of year is upon us once again! With sparkling lights, delightful ornaments, and a beautiful evergreen centerpiece, it's time to unleash our inner creativity and adorn our Christmas trees. While decorating a tree may seem like a simple task, there's an art to creating a truly festive masterpiece. Fear not, dear readers, for we have rallied together to present you with a step-by-step guide that will help you transform your tree into a breathtaking display of holiday cheer.
Sograb your tinsel, untangle those lights, and let's embark on a jolly journey to create the most merry and bright Christmas tree in the neighborhood!
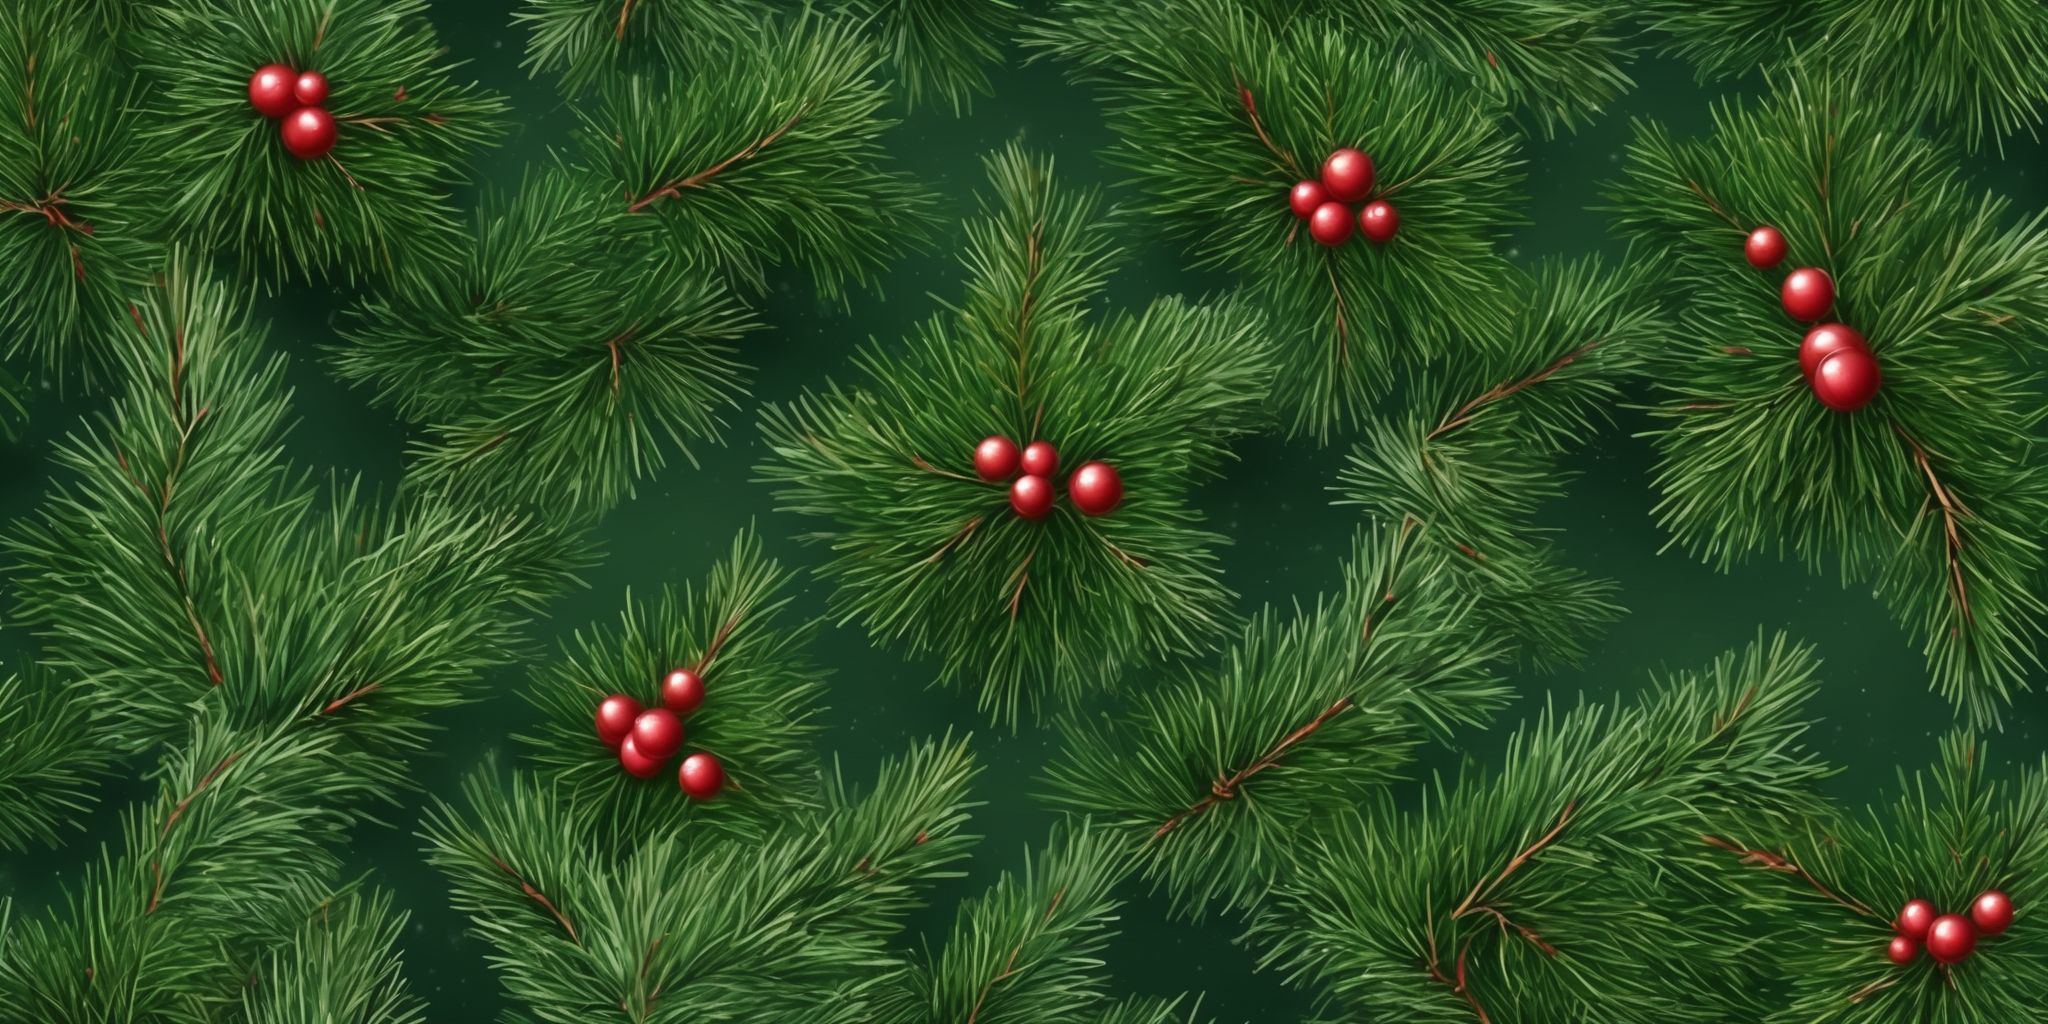
Why Decorating Your Tree is Important
Decorating your tree is an important part of creating a festive atmosphere during Christmas. It sets the mood and brings the holiday spirit into your home. The act of carefully adding lights, ornaments, and garland to your tree helps to create traditions and memories that can be cherished for years to come. Whether you choose a classic theme with red and gold ornaments or opt for a more modern and colorful approach, the tree becomes a centerpiece of joy and celebration.
It is a visual representation of the holiday season and adds a touch of magic to your home. Don't underestimate the impact a beautifully decorated tree can have on your overall holiday experience.
The Benefits of a Festive Christmas Tree
A festive Christmas tree brings joy and warmth to your home during the holiday season. It sets the festive mood and creates a whimsical atmosphere for your celebrations. Not only does it serve as a beautiful centerpiece, but it also holds sentimental value for many families, as it becomes a symbol of togetherness and tradition. Decorating a tree with colorful ornaments, sparkling lights, and garlands adds a touch of magic that captivates both children and adults alike.
Whether it's gathering around the tree to exchange gifts or simply admiring its beauty, a festive Christmas tree enhances the overall holiday experience and creates lasting memories for years to come.
Step 1: Choosing the Perfect Tree
Finding the Right Size and Shape
When it comes to finding the right size and shape for your Christmas tree, consider the available space in your home. Measure the area where the tree will be placed, including the height and width. This will help you determine the maximum dimensions your tree can have.
Additionally, think about the shape that appeals to you – whether it's a full and bushy tree or a slimmer profile. Remember that a tall tree with a slender shape can create an illusion of more space in smaller rooms. So take measurements and choose a tree that fits both your preferences and your available space.
Deciding between Real or Artificial
When deciding between a real or artificial tree, it's important to consider your preferences and lifestyle. Real trees offer a natural beauty and fresh scent, creating an authentic holiday atmosphere. They require maintenance, watering, and can shed needles. On the other hand, artificial trees are convenient, reusable, and require no upkeep. They come in various sizes and styles, allowing you to find one that suits your taste.
Selecting a Tree with Good Needle Retention
When selecting a tree with good needle retention, look for those with sturdy and flexible branches. These trees are less likely to shed needles and will maintain a fuller appearance throughout the holiday season.
For example, fir and spruce trees generally have excellent needle retention. Another trick is to gently run your hand over the branches to check for excessive needle loss.
Additionally, consider the freshness of the tree by looking for vibrant and green needles. By choosing a tree with good needle retention, you can ensure a longer-lasting and more visually appealing Christmas tree.
Step 2: Tree Preparation
Cleaning and Fluffing the Branches
Cleaning and fluffing the branches of your tree is an important step to ensure a beautiful and full appearance. Start by gently shaking the branches to remove any loose debris or dust. Use a soft brush or cloth to remove any remaining dirt or cobwebs. After cleaning, take a moment to fluff the branches by gently pulling them outward, giving the tree a fuller and more realistic look. This step helps create space for ornaments and ensures an even distribution of decorations.
Remember to be gentlewhile fluffing to avoid damaging the branches.
Securing the Tree in the Stand
- Choose a sturdy tree stand that fits the size of your tree.
- Place the tree stand on a level surface to ensure stability.
- Make sure the tree is centered in the stand to prevent it from tipping over.
- Tighten the screws or bolts on the stand to secure the tree in place.
- Consider using additional support, such as tying the tree to a wall or using a tree strap for added stability.
- Regularly check the tree stand throughout the holiday season to ensure it remains secure.
Step 3: Lights and Garland
Choosing the Right Type of Lights
When choosing the right type of lights for your tree, consider factors such as color, size, and style. LED lights are energy-efficient and come in a range of colors, including warm white and multi-colored options. Traditional incandescent lights give off a cozy, nostalgic glow. Opt for lights with built-in timers or remote controls for easy operation. Consider the size of your tree and the number of lights needed to achieve a balanced look.
Additionally, choose lights that are specifically designed for outdoor or indoor use, depending on where you will be placing your tree.
Wrapping Lights around the Tree
When it comes to wrapping lights around the tree, start from the bottom and work your way up, ensuring an even distribution. Use LED lights for their energy efficiency and vibrant colors. Consider the spacing between lights to avoid overcrowding or sparse sections. To create depth, wrap lights closer to the trunk as well as on the outer branches. Opt for white lights for a classic look, or choose colored lights to match your desired theme.
Experiment with different lighting techniques such as weaving lights through branches or creating a spiral effect. Remember to test the lights before installation and secure them properly to prevent any accidents.
Adding Garland for Extra Festivity
Adding garland to your Christmas tree is a simple way to enhance its festive appearance. Choose a garland that complements your overall theme or color scheme, such as tinsel garland for a classic look or natural greenery for a rustic vibe. Start at the top of the tree and gently wrap the garland around the branches in a spiral or cascading pattern. Ensure the garland is evenly distributed to create a balanced and cohesive look.
You can also layer different types of garland for added texture andvisual interest. Experiment with different materials and lengths to achieve your desired effect.
Step 4: Ornaments and Decorations
Selecting a Theme or Color Scheme
Selecting a theme or color scheme for your Christmas tree adds a cohesive and visually appealing touch to your overall decor. A theme can evoke a specific style or evoke nostalgia, making your tree more memorable. Consider themes like traditional, rustic, modern, or even a unique theme that reflects your personality or interests. To create a cohesive color scheme, choose complementary or contrasting colors that enhance the tree's visual impact.
For example, a classic red and gold color scheme exudes warmth and elegance, while a winter wonderland theme with silver and blue creates a cool and magical ambiance. Decide on a theme or color scheme that resonates with you and sets the tone for your festive celebrations.
Placing Ornaments Strategically
Placing ornaments strategically on your tree is all about creating balance and visual interest. Start with larger ornaments and spread them evenly throughout the tree to provide a solid foundation. Then, fill in gaps with smaller ornaments, ensuring they are spaced out to avoid overcrowding. Consider hanging lightweight ornaments higher up in the tree and heavier ones towards the bottom for stability. To add depth, place ornaments at varying depths within the branches.
For a cohesive look, stick to a specific color scheme or theme. By strategically arranging your ornaments, you can achieve a visually pleasing and well-balanced Christmas tree.
Adding Tinsel, Ribbons, and Bows
- Tinsel, ribbons, and bows are great accessories to enhance the festive look of your tree.
- Tinsel adds sparkle and glimmer, creating a beautiful shimmering effect.
- Ribbons can be used to create bows or cascading loops for an elegant and eye-catching display.
- Consider using ribbons in different colors or patterns that complement your tree's theme or color scheme.
- Bows can be strategically placed on branches or used as tree toppers for a charming finishing touch.
- Experiment with different textures, such as metallic, satin, or velvet, to add depth and visual interest to your tree.
- Remember to distribute the tinsel, ribbons, and bows evenly throughout the tree to maintain a balanced and cohesive look.
Step 5: Tree Topper
Choosing a Tree Topper that Complements your Theme
When choosing a tree topper that complements your theme, keep the following tips in mind:
- Consider the style of your theme: Whether you're going for a traditional, rustic, or modern theme, the tree topper should match the overall aesthetic.
- Size and proportion: Ensure that the topper is proportionate to the tree's size and doesn't overpower the rest of the decorations.
- Material and color: Select a topper that aligns with your chosen color scheme and is made of a durable material that won't easily break or lose its luster.
- Theme consistency: If you have a specific theme like angels, stars, or snowflakes, choose a topper that fits within that theme to create a cohesive look.
Remember, the tree topper should be the crowning glory that ties the entire look of your tree together, so choose one that adds the perfect finishing touch.
Securing the Topper in Place
To ensure your tree topper stays securely in place, there are a few methods you can try. One option is using a material like floral wire or twist ties to attach the topper to the tree's highest branch. Another idea is using a sturdy tree topper holder or stand that can be placed on top of the tree. This will provide stability and prevent the topper from falling off. Additionally, consider using adhesive putty or clear fishing line to further secure the topper. Experiment with different techniques to find what works best for your specific tree and topper combination.
Step 6: Tree Skirt and Tree Stand
Selecting a Beautiful Tree Skirt
When selecting a tree skirt for your Christmas tree, consider the overall aesthetic you want to achieve. Opt for a skirt that complements your chosen theme or color scheme. Look for materials that are festive and durable, such as velvet, faux fur, or burlap. Pay attention to the size of the tree skirt to ensure it covers the base of your tree adequately.
Additionally, you might want to choose a skirt with special features like embroidered patterns or built-in lights to add extra charm to your tree. Remember, the tree skirt is the finishing touch that ties the whole tree together visually.
Ensuring a Sturdy and Stable Tree Stand
To ensure a sturdy and stable tree stand, consider the following tips:
- Purchase a tree stand that is designed to support the size and weight of your tree.
- Make sure the tree stand has a wide base for better stability.
- Ensure the tree trunk is securely fastened to the stand using adjustable straps or screws.
- Place the tree stand on a level surface to prevent tilting or wobbling.
- Use additional support, such as wooden blocks or bricks, if needed, to reinforce stability.
- Regularly check the water level in the tree stand to prevent drying out, which can weaken the tree's stability.
- Avoid placing the tree near high traffic areas or where it may be bumped or knocked over accidentally.
By following these guidelines, you can ensure that your tree stand provides a secure and stable foundation for your beautifully decorated tree.
Step 7: Final Touches
Adding Tree-Related Decorations
Adding tree-related decorations is the perfect way to enhance the festive look of your Christmas tree. Hang ornaments that reflect your personal style or follow a specific theme. Consider using a mix of traditional and unique decorations to add interest. You can incorporate homemade ornaments, such as salt dough creations or handcrafted baubles, to bring a personal touch. Hang delicate glass ornaments higher up to prevent breakage, and place larger, sturdier decorations closer to the bottom.
Don't forget to include special sentimental ornaments that hold cherished memories. By carefully selecting and placing tree decorations, you can create a visually stunning centerpiece for your holiday celebrations.
Placing Presents under the Tree
Placing presents under the tree adds charm and excitement to your holiday decor. It creates a visual centerpiece that captures the joy of gift-giving. Strategically arrange the gifts in varying sizes and colors to create a visually pleasing display. Consider coordinating the wrapping paper with your overall tree theme for a cohesive look. To add a personal touch, attach gift tags or personalized ornaments to each present.
Remember to keep the space around the tree clear to allow for easy accessand a tidy appearance. The sight of presents waiting to be unwrapped will create a sense of anticipation and make your tree truly festive.
Wrapping up
Looking to create a festive and fabulous Christmas tree this year? Check out our step-by-step guide on decorating your tree, designed to help you create the perfect holiday centerpiece. From choosing the right tree to adding lights, ornaments, and the finishing touches, we've got you covered. Get ready to deck the halls with style and make this Christmas truly magical.
Read On

Step-by-Step Guide: Designing Your Dream Christmas Tree with the Perfect Shop Finds
It's that magical time of the year again when halls get decked with boughs of holly, and twinkling...

Creating a Beautiful Christmas Tree Arrangement in 5 Simple Steps
Ah, the holiday season is upon us, and what better way to welcome the cheer than by adorning your...

Top 7 Tips for Gorgeous Christmas Trees Decorating
The holiday season is just around the corner, and it's time to transform your living room into a...